
Introduction
A harness is the infrastructure surrounding a model that coordinates elements
such as instructions, conversation history, tools, permissions, the execution
environment, and session persistence. DeepSeek Harness (dsh) is an open-source
agent harness developed by DeepSeek AI, with an architecture in which every
capability is integrated as a plugin.
The following videos provide general context about the concept and the project:
DeepSeek Harness includes a local web interface. It can also be displayed inside VS Code through a community extension, keeping conversations and tools alongside the project open in the editor.
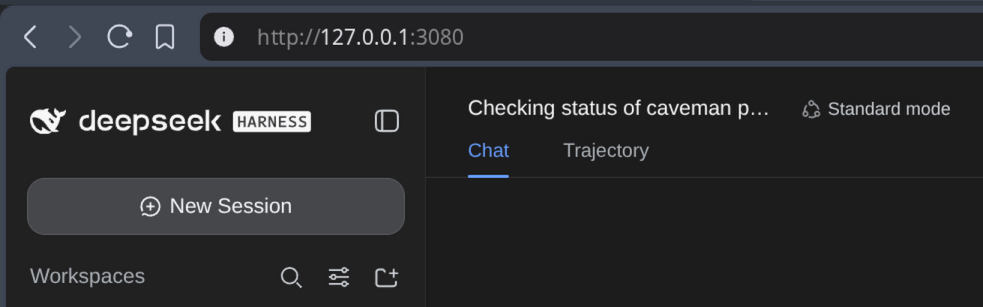
Table of contents
Table of contents
Prerequisites
- Node.js
^22.19.0or>=24.0.0. Check the version withnode --version. - npm/npx, normally included with Node.js.
- pnpm in
PATHif you plan to install the subscriptions plugin. Check it withpnpm --version. - Visual Studio Code
1.75.0or later for the extension described here. - One of these ways to access models:
- a DeepSeek API key with an available balance, or
- a subscription supported by the community plugin.
pnpm cannot be replaced by npm, Bun, or Yarn in plugin commands: the DSH CLI
forwards those commands directly to pnpm.
Step 1: run DeepSeek Harness
The simplest official method does not require a global installation:
npx @deepseek-ai/dsh webThe command initializes the web profile, starts the server at
http://127.0.0.1:3080, and opens the interface in your browser. The process
remains in the foreground; stop it with Ctrl+C.
Step 2: choose how to access models
DSH can use the official DeepSeek API or providers added by plugins. These are independent mechanisms: having API credits does not configure a subscription, and having a subscription does not create an API key.
Option A: official DeepSeek API
-
Create a key on the DeepSeek platform and confirm that the account has an available balance.
-
In Settings, open the model configuration and select the
deepseek-officialprovider to store the credential. -
You can also provide the key through the environment variable used by the official adapter and run DSH from the same terminal.
In Bash, you can read it without displaying it or writing it to your history:
Terminal window read -rsp 'DeepSeek API key: ' DEEPSEEK_API_KEYexport DEEPSEEK_API_KEYprintf '\n'npx @deepseek-ai/dsh web -
Select one of the available DeepSeek models when creating a conversation.
Option B: subscriptions through a community plugin
dsh-plugin-subscriptions
is a third-party plugin. Its documentation states support for these plans:
| Provider | Documented subscription |
|---|---|
| ChatGPT (Codex) | ChatGPT Plus or Pro |
| Claude | Claude Pro or Max |
| Grok | X Premium |
| GitHub Copilot | GitHub Copilot |
With DSH stopped, install the prebuilt package published on npm:
npx @deepseek-ai/dsh plugin --profile web add -w dsh-plugin-subscriptionsThe -w (--workspace-root) option confirms that the package should be added to
the root of the web profile workspace. Installing the prebuilt package does
not require editing allowBuilds or replacing pnpm-workspace.yaml.
After installing it, start DSH again:
npx @deepseek-ai/dsh webIn the web interface:
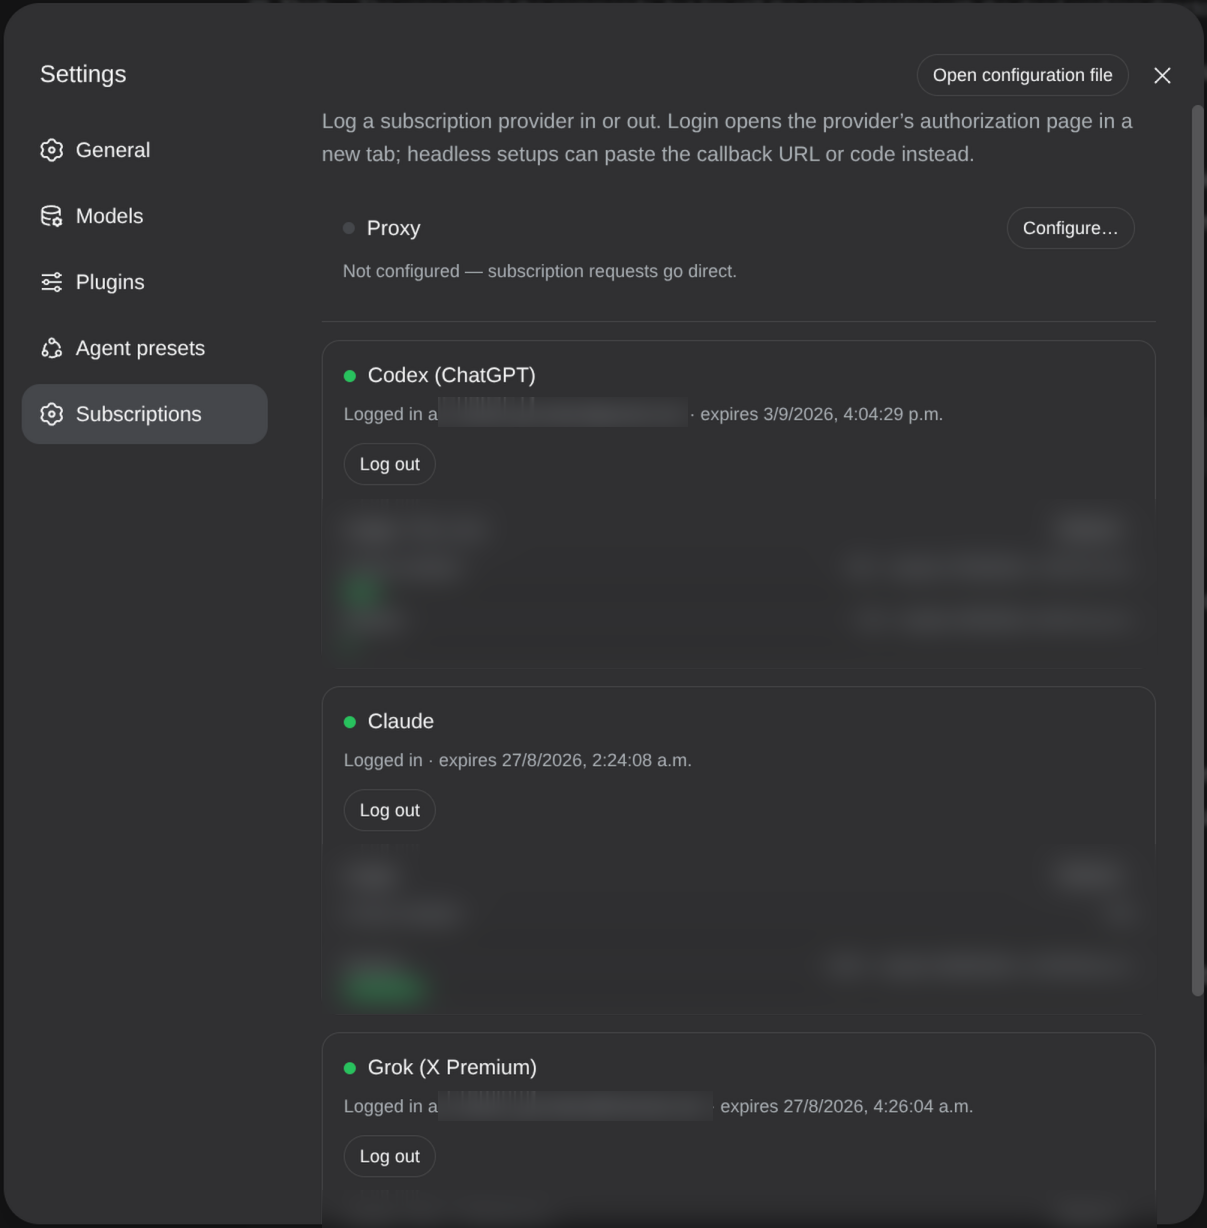
- Open Settings → Subscriptions.
- Select Connect for the provider you want.
- Complete the authorization flow in your browser.
- Open the model selector in a conversation and choose a model provided by the subscription.
Step 3: install the VS Code extension
The extension used in this guide is also community-maintained:
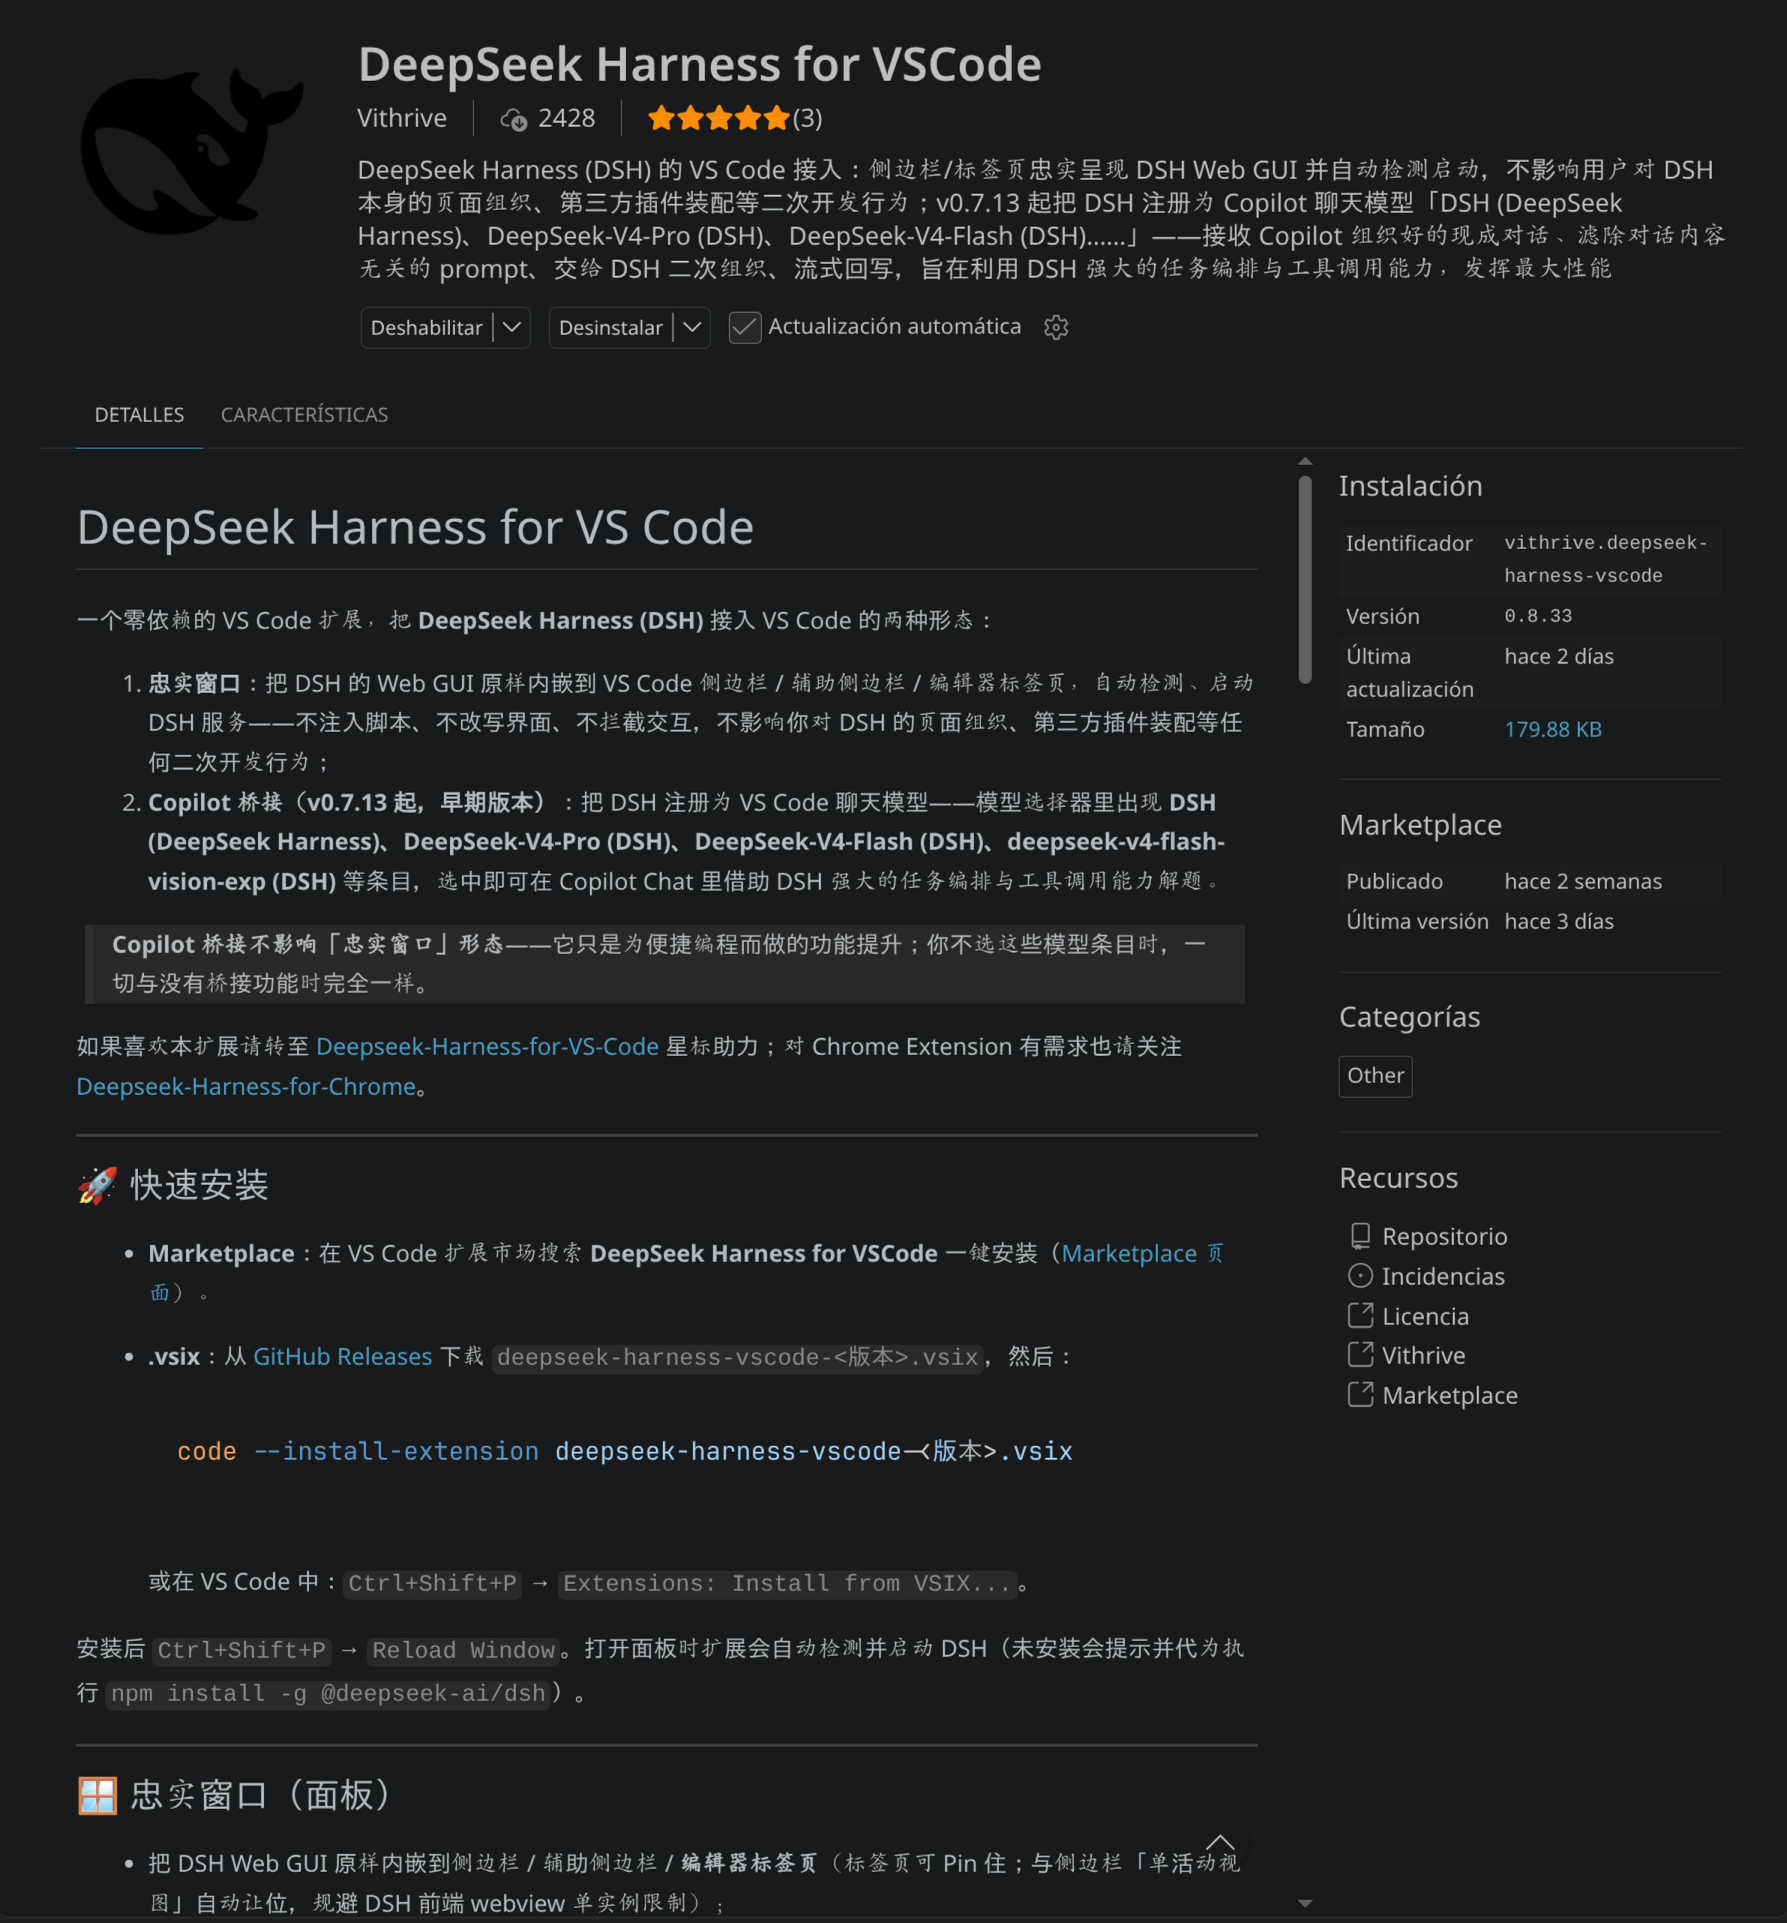
- Name: DeepSeek Harness for VSCode
- Identifier:
vithrive.deepseek-harness-vscode - Repository: Vithrive/Deepseek-Harness-for-VS-Code
- Marketplace: DeepSeek Harness for VSCode
- Open Extensions in VS Code (
Ctrl+Shift+X). - Search for the identifier
vithrive.deepseek-harness-vscode. - Confirm that the publisher is Vithrive, then install the extension.
Step 4: configure the extension
Open Settings in VS Code and search for DeepSeek Harness Panel. The visible
labels may be translated, so it is best to identify each option by its key:
| Key | Default value | Purpose |
|---|---|---|
dshPanel.url | http://127.0.0.1:3080 | Address of the web interface displayed in the panel. |
dshPanel.host | 127.0.0.1 | Address used when starting DSH automatically. |
dshPanel.port | 3080 | Port used when starting DSH automatically. |
dshPanel.autoStart | true | Runs dsh web when the server is not active. |
dshPanel.autoInstallDsh | true | Offers to install @deepseek-ai/dsh globally when dsh cannot be found. |
dshPanel.dshCommand | dsh | Executable the extension looks for in PATH; it also accepts an absolute path. |
dshPanel.enableDshModel | true | Registers DSH as a provider in the VS Code model selector. |
dshPanel.chatProvider | empty | An empty value uses the default provider configured in DSH. |
dshPanel.chatModel | empty | An empty value uses the default model configured in DSH. |
dshPanel.killOnDispose | true | Stops only the process started by the extension when it closes. |
Authentication takes place in DSH. dshPanel.chatProvider and
dshPanel.chatModel only control which previously configured provider and model
the VS Code bridge should use. Leave them empty to follow the DSH defaults.
Step 5: use DeepSeek Harness in VS Code
Side panel
- Select the DeepSeek Harness icon in the activity bar.
- The extension will display the web interface served by DSH.
- If the panel does not load, start DSH manually and check
http://127.0.0.1:3080in your browser.
VS Code model selector
With dshPanel.enableDshModel enabled, the extension registers DeepSeek Harness
as a model provider for VS Code chat. Open the selector and choose the
DeepSeek Harness entry; its exact label may vary between versions.

Troubleshooting
| Problem | Check and solution |
|---|---|
| DSH rejects the Node.js version | Run node --version and use ^22.19.0 or >=24.0.0. A Node version manager avoids global installations that require system-directory permissions. |
pnpm is not found while installing a plugin | Install pnpm and confirm that pnpm --version works in the same terminal. The DSH CLI must be able to find it in PATH. |
ERR_PNPM_ADDING_TO_ROOT | Add -w or --workspace-root to the installation command. The correct error name contains PNPM, not PNMP. |
An allowBuilds-related error appears | Use the prebuilt dsh-plugin-subscriptions package, not the GitHub source. Do not replace the complete pnpm-workspace.yaml file. |
| The DeepSeek API returns an authentication or quota error | Confirm that deepseek-official has a valid key and that the account has an available balance. A balance without a configured key does not authenticate DSH. |
| A subscription does not appear in the selector | Open Settings → Subscriptions, reconnect the account, and restart dsh web after installing or updating the plugin. |
The extension cannot find dsh | Accept its global installation, set dshPanel.dshCommand to the executable path, or disable automatic startup and use npx @deepseek-ai/dsh web. |
| The panel displays an error or does not load | Check that http://127.0.0.1:3080 responds and that dshPanel.url, dshPanel.host, and dshPanel.port match. |
| The bridge uses a different model | Review the default model in DSH or configure dshPanel.chatProvider and dshPanel.chatModel together with valid identifiers. |
Verified sources
- DeepSeek Harness: repository and run guide
- DeepSeek Harness: CLI reference
- DeepSeek Harness: version and Node.js requirements
- Official DeepSeek adapter for DSH
- Official DeepSeek API documentation
-
dsh-plugin-subscriptions: installation, providers, and token storage - DeepSeek Harness for VSCode repository
- Extension listing on Visual Studio Marketplace
- pnpm: installing in a workspace root
-
npm: safely resolving
EACCESerrors - OpenAI: official Codex authentication methods