Introduction
Argilla is an open source data curation platform for artificial intelligence and language models, designed to help engineering teams and domain experts build, review, and maintain high-quality datasets. It is used for data annotation, model output evaluation, human feedback incorporation, and continuous improvement of training and validation datasets. The project was originally created by the Recognai team, started as Rubrix, and later evolved into Argilla. Today it is recognized as a solid technical solution within the LLMOps and data-centric AI ecosystem. It is distributed under the Apache 2.0 license and its stack includes components based on Python and FastAPI, with a focus on open deployment, collaboration, and full data ownership.
This guide describes the process of installing Argilla and its dependencies on Debian 13 Trixie. Although the environment used for testing actually corresponds to Debian Testing, no significant differences are expected in the procedure steps. Perhaps only the PostgreSQL 17 version instead of 16 or 18, but they are fully compatible. It is worth noting that this is not a trivial installation, but a process that requires solid experience in GNU/Linux system administration. For those looking for a simpler and faster alternative to deploy, it may be preferable to opt for the Docker deployment, which is generally more straightforward.
When installing on other GNU/Linux distributions, it is essential to carefully consider the versions of each of the components mentioned in this guide.
Table of contents
Table of contents
- 1. Architecture overview
- 2. System preparation
- 3. Installing Java 21
- 4. Installing OpenSearch 2.x
- 5. Installing PostgreSQL 16 or 18
- 6. Installing Redis
- 7. Preparing the Python environment
- 8. Installing argilla-server
- 9. Configuring the Argilla server
- 10. Database initialization
- 11. Creating systemd services
- 12. Verification and first use
- 13. Installing the Python SDK (client)
- 14. Maintenance
- Port and service summary
- Key differences from the Elasticsearch installation
1. Architecture overview
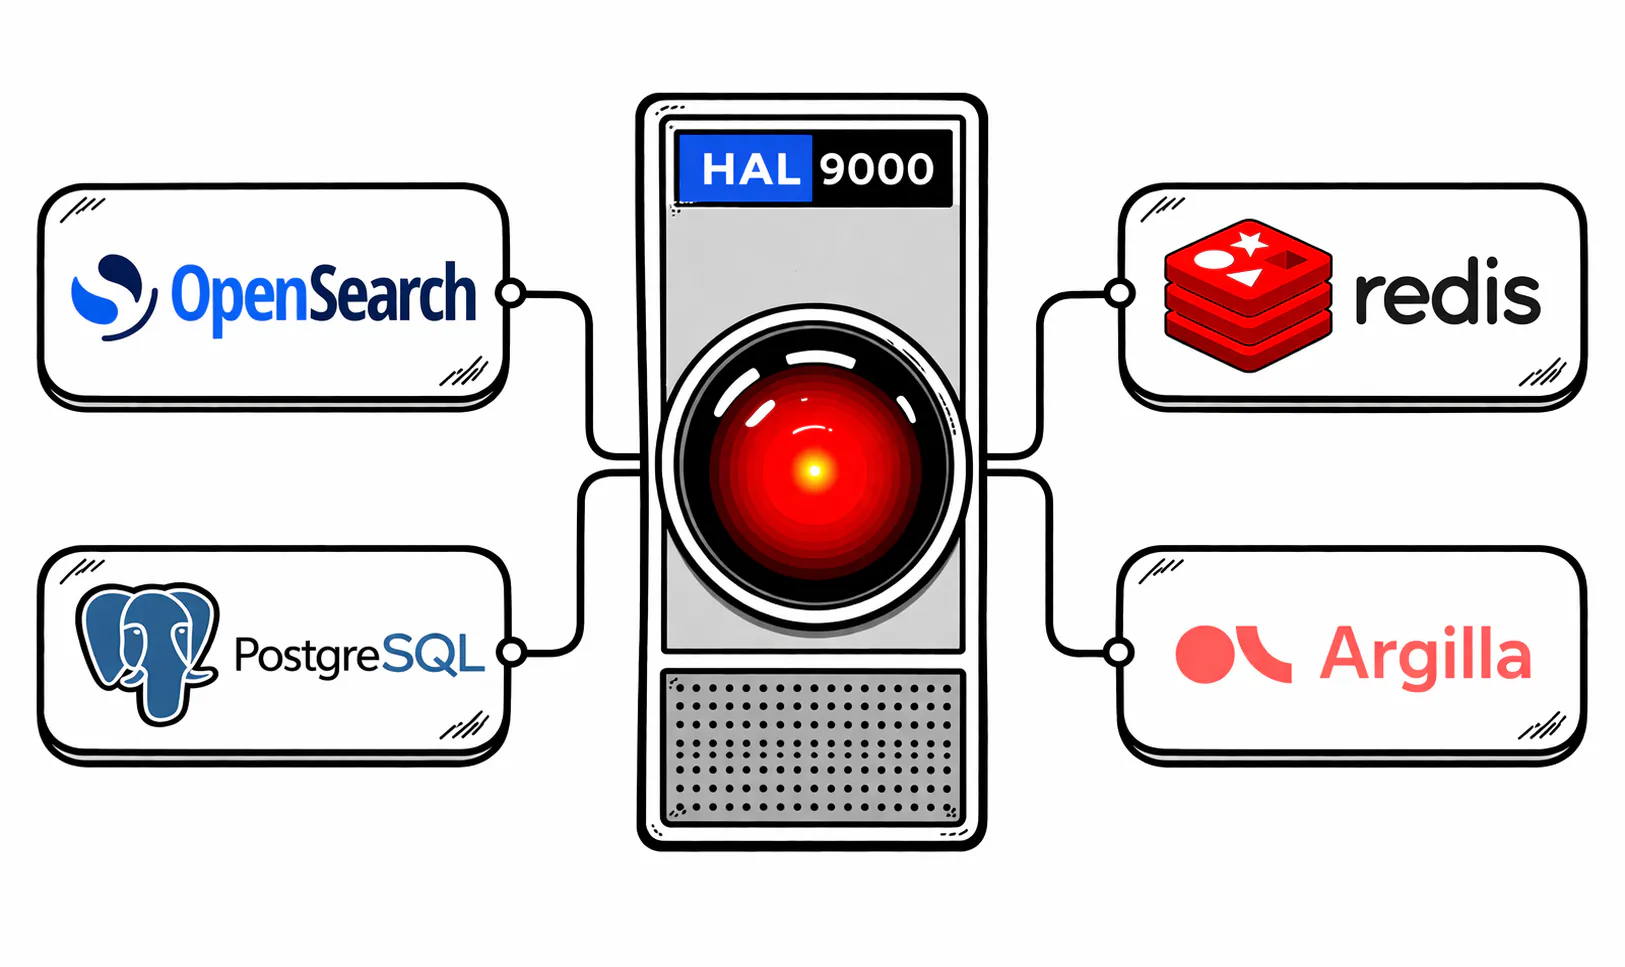
Argilla v2 is composed of four services that must run simultaneously:
| Service | Role | Default port |
|---|---|---|
| OpenSearch 2.x | Vector and full-text search engine | 9200 |
| PostgreSQL 18 | Relational database (users, workspaces, metadata) | 5432 |
| Redis | Task queue for the background worker | 6379 |
| argilla-server | FastAPI + web UI | 6900 |
| argilla worker | Asynchronous task process | — (consumes Redis) |
OpenSearch is a fork of Elasticsearch maintained by Amazon under the Apache 2.0 license. It shares the same REST API and the same indexing engine (Apache Lucene), making it fully compatible with Argilla. The minimum required version is OpenSearch 2.4.0.
2. System preparation
2.1 Update the system
sudo apt update && sudo apt full-upgrade -y2.2 Install base system dependencies
sudo apt install -y \ curl wget gnupg2 lsb-release ca-certificates \ build-essential libssl-dev libffi-dev \ python3 python3-pip python3-venv python3-dev \ git unzip2.3 Create a dedicated system user
Running Argilla under an unprivileged user is a security best practice:
sudo useradd --system --shell /bin/bash --home /opt/argilla --create-home argilla3. Installing Java 21
OpenSearch 2.x requires Java 11 as a minimum; Java 21 is recommended for better performance and long-term support:
sudo apt install -y openjdk-21-jdk-headlessOn Debian 13 and testing the default is openjdk-25-jre-headless, which is not compatible with OpenSearch. This is because, first, the OpenSearch repository itself has a commit saying “Wrap checked exceptions in painless.DefBootstrap to support JDK-25” on GitHub, which implies that Java 25 compatibility required specific fixes that only arrived in recent versions of the main development branch, not in the stable 2.x series used in this guide. Second, JDK 21 is the declared minimum requirement for OpenSearch 3.0, not for 2.x. The 2.x series was officially built and tested with Java 17. Java 25 is also a non-LTS version, which OpenSearch historically avoids as a testing environment. The solution is to explicitly install Java 21 alongside Java 25 and tell OpenSearch which one to use. On Debian 13 (and other distros), both versions can coexist.
There are at least 2 ways to make them coexist. The first is to explicitly specify the Java version to use globally:
sudo update-alternatives --config javaIf any other program were to use Java 25, it would need to be switched back temporarily.
The other way is to tell OpenSearch which one to use. On Debian 13, both versions can coexist: instead of defining JAVA_HOME globally
(which would affect the entire system), use the OPENSEARCH_JAVA_HOME variable that OpenSearch reads with priority over JAVA_HOME:
sudo nano /etc/opensearch/opensearch.envIf that file does not exist, you can configure it directly in the systemd service override:
sudo systemctl edit opensearchAnd add:
[Service]Environment=OPENSEARCH_JAVA_HOME=/usr/lib/jvm/java-21-openjdk-amd64The OPENSEARCH_JAVA_HOME variable takes precedence over JAVA_HOME, which allows multiple applications on the same server to use
different JVM versions without conflicts.
Verify:
java -version# Should show: openjdk version "21.x.x" ...Configure JAVA_HOME globally (but take into account the previous note about versions):
echo 'JAVA_HOME=/usr/lib/jvm/java-21-openjdk-amd64' | sudo tee /etc/environmentsource /etc/environment4. Installing OpenSearch 2.x
4.1 Install OpenSearch
Starting with OpenSearch 2.12, the installer requires that the admin user password be set as an environment variable before installation.
This applies even if the security plugin is later disabled. The following commands are preferably run as the root user:
apt update
# Establecer la contraseña de admin antes de instalar (requerido desde 2.12+)export OPENSEARCH_INITIAL_ADMIN_PASSWORD='Admin_Password_Seguro1!'
# Descargar el .deb directamente, para evitar problemas con la firma del APT de OpenSearchwget https://artifacts.opensearch.org/releases/bundle/opensearch/2.19.0/opensearch-2.19.0-linux-x64.deb
# Instalardpkg -i opensearch-2.19.0-linux-x64.debTo install a specific version (for example, the latest of the stable 2.x series):
# Instalar versión concretaexport OPENSEARCH_INITIAL_ADMIN_PASSWORD='Admin_Password_Seguro1!'
# Descargar el .deb e instalar.wget https://artifacts.opensearch.org/releases/bundle/opensearch/2.x.y/opensearch-2.x.y-linux-x64.debsudo dpkg -i opensearch-2.x.y-linux-x64.deb
4.3 Configure OpenSearch for Argilla
Argilla communicates with OpenSearch without authentication on the local network. The OpenSearch security plugin (which manages TLS, authentication, and authorization) must be disabled for this use.
Back up the default configuration file:
sudo cp /etc/opensearch/opensearch.yml /etc/opensearch/opensearch.yml.origEdit the main configuration file:
sudo nano /etc/opensearch/opensearch.ymlReplace the content with the following:
# ─── Identidad del clúster ───────────────────────────────────────────────────cluster.name: os-argilla-localnode.name: argilla-node-1
# ─── Red ─────────────────────────────────────────────────────────────────────network.host: 127.0.0.1http.port: 9200
# ─── Modo nodo único ─────────────────────────────────────────────────────────discovery.type: single-node
# ─── Deshabilitar el plugin de seguridad ─────────────────────────────────────# Argilla no usa autenticación TLS entre servicios internos.plugins.security.disabled: trueplugins.security.ssl.http.enabled: falseplugins.security.ssl.transport.enabled: false
# ─── Desactivar limitaciones de disco ────────────────────────────────────────cluster.routing.allocation.disk.threshold_enabled: false
4.4 Adjust OpenSearch JVM memory
sudo cp /etc/opensearch/jvm.options /etc/opensearch/jvm.options.origsudo nano /etc/opensearch/jvm.optionsLocate the heap lines and modify them (or create an override file in /etc/opensearch/jvm.options.d/):
sudo nano /etc/opensearch/jvm.options.d/heap.options-Xms1g-Xmx1g4.5 Adjust OS limits
OpenSearch (like Elasticsearch) requires additional kernel configuration:
# vm.max_map_count — essential for Luceneecho 'vm.max_map_count=262144' | sudo tee /etc/sysctl.d/99-opensearch.confsudo sysctl --system
# Verifysysctl vm.max_map_count# Should show: vm.max_map_count = 262144
File descriptor limits for the opensearch user:
sudo nano /etc/security/limits.d/opensearch.confopensearch soft nofile 65535opensearch hard nofile 65535opensearch soft memlock unlimitedopensearch hard memlock unlimited4.6 Disable swap (recommended for production)
OpenSearch recommends disabling swap to avoid performance degradation:
sudo swapoff -a# To make it permanent, comment out the swap line in /etc/fstab:sudo sed -i '/\bswap\b/s/^/#/' /etc/fstab4.7 Enable and start OpenSearch
sudo systemctl daemon-reloadsudo systemctl enable opensearchsudo systemctl start opensearchOpenSearch takes between 20 and 40 seconds to start completely. Verify:
sudo systemctl status opensearch
# Probar la API (sin autenticación, porque deshabilitamos el plugin de seguridad)curl -s http://localhost:9200/
The response should be a JSON similar to:
{ "name" : "argilla-node-1", "cluster_name" : "os-argilla-local", "version" : { "distribution" : "opensearch", "number" : "2.x.x", ... }, "tagline" : "The OpenSearch Project: https://opensearch.org/"}4.8 Troubleshooting
There are several possible causes. Check them in this order:
- Check if the service is actually running:
sudo systemctl status opensearchIf it shows Active: active (running), it is alive but something else is failing. If it shows failed or activating, that is the problem.
- View the logs to find out what is happening:
sudo journalctl -u opensearch -n 50 --no-pagerThis almost always reveals the exact reason.
- Verify that it is listening on port 9200:
ss -tlnp | grep 9200If nothing appears, OpenSearch has not finished starting or has failed.
- The most common issue with the
.debpackage is that the security plugin remains active despite having setplugins.security.disabled: true. In that case OpenSearch only responds via HTTPS, not HTTP, and curl without options receives an empty connection. Try:
curl -sk https://localhost:9200/ -u admin:Admin_Password_Seguro1!If this returns the expected JSON, the problem is exactly that: the security plugin was not deactivated correctly. The solution is to confirm that the configuration file has the correct line and restart:
sudo grep "plugins.security" /etc/opensearch/opensearch.yml# Debe mostrar: plugins.security.disabled: true
sudo systemctl restart opensearchsleep 30curl -s http://localhost:9200/
5. Installing PostgreSQL 16 or 18
5.1 Install from Debian repositories
sudo apt install -y postgresql postgresql-contrib5.2 Start and enable PostgreSQL
sudo systemctl enable postgresqlsudo systemctl start postgresqlsudo systemctl status postgresql5.3 Create the database and user for Argilla
sudo -u postgres psqlInside the psql shell:
-- Crear usuario de base de datos para ArgillaCREATE USER argilla_user WITH PASSWORD 'argilla_secret_password';
-- Crear la base de datosCREATE DATABASE argilla OWNER argilla_user;
-- Otorgar todos los privilegiosGRANT ALL PRIVILEGES ON DATABASE argilla TO argilla_user;
-- Salir\q5.4 Verify the connection
psql -h localhost -U argilla_user -d argilla -c "SELECT version();"6. Installing Redis
sudo apt install -y redis-server6.1 Basic configuration
sudo nano /etc/redis/redis.confVerify that these lines are present:
bind 127.0.0.1 -::1protected-mode yesport 63796.2 Enable and start Redis
sudo systemctl enable redis-serversudo systemctl start redis-server
# Verifyredis-cli ping# Should respond: PONG
7. Preparing the Python environment
7.1 Verify Python
python3 --version# Python 3.11.x or higher7.2 Create the virtual environment
sudo -i -u argilla
python3 -m venv /opt/argilla/venv
source /opt/argilla/venv/bin/activate
pip install --upgrade pip setuptools wheel8. Installing argilla-server
8.1 Installation
With the virtual environment activated:
# Degradar click para evitar problemas de compatibilidad. Crea un archivo de restricciones.echo "click<8.2.0" > /opt/argilla/constraints.txt
pip install "argilla-server[postgresql]" -c /opt/argilla/constraints.txt
This automatically installs:
argilla-server— FastAPI server with the embedded UIopensearch-py— official OpenSearch client (used whenARGILLA_SEARCH_ENGINE=opensearch)asyncpg+psycopg2-binary— PostgreSQL driversredis— Redis clientuvicorn— ASGI serveralembic— database migrations- All FastAPI, Pydantic, and SQLAlchemy dependencies
Verify:
python -m argilla_server --helpClick and Typer incompatibilities
It is important to note that the click package introduces changes that make it incompatible with Argilla:
| Click version | Error |
|---|---|
| ≥ 8.3.0 | Secondary flag is not valid for non-boolean flag |
| 8.2.x | Parameter.make_metavar() missing 1 required positional argument: 'ctx' |
| ≤ 8.1.8 | Works correctly with argilla-server |
The Argilla team will need to update their use of Typer to a more recent version to resolve this at the root, but in the meantime click==8.1.8 is the stable solution.
9. Configuring the Argilla server
9.1 Create the environment configuration file
nano /opt/argilla/.env# ─────────────────────────────────────────# Configuración del servidor Argilla# ─────────────────────────────────────────
ARGILLA_HOME_PATH=/opt/argilla/dataARGILLA_BASE_URL=/
# ─────────────────────────────────────────# Base de datos relacional (PostgreSQL)# ─────────────────────────────────────────ARGILLA_DATABASE_URL=postgresql+asyncpg://argilla_user:argilla_secret_password@localhost:5432/argilla
# ─────────────────────────────────────────# Motor de búsqueda: OpenSearch# ─────────────────────────────────────────# La variable ARGILLA_ELASTICSEARCH apunta al endpoint del motor,# independientemente de si es Elasticsearch u OpenSearch.ARGILLA_ELASTICSEARCH=http://localhost:9200ARGILLA_SEARCH_ENGINE=opensearch
# ─────────────────────────────────────────# Redis# ─────────────────────────────────────────ARGILLA_REDIS_URL=redis://localhost:6379/0
# ─────────────────────────────────────────# Usuario inicial# ─────────────────────────────────────────USERNAME=adminPASSWORD=admin_password_seguro_aquiAPI_KEY=argilla.apikeyWORKSPACE=default
# ─────────────────────────────────────────# Worker de tareas en segundo plano# ─────────────────────────────────────────BACKGROUND_NUM_WORKERS=2
# ─────────────────────────────────────────# Telemetría (descomenta para desactivar)# ─────────────────────────────────────────# HF_HUB_DISABLE_TELEMETRY=1Protect the file:
chmod 600 /opt/argilla/.env9.2 Create the data directory
mkdir -p /opt/argilla/data10. Database initialization
With all services running (OpenSearch, PostgreSQL, Redis), initialize the schema:
sudo -i -u argillasource /opt/argilla/venv/bin/activateset -asource /opt/argilla/.envset +aRun the Alembic migrations:
python -m argilla_server database migrateCreate the initial user and workspace:
python -m argilla_server database users create_defaultTo create additional users later:
python -m argilla_server database users create \ --username nombre_usuario \ --first-name "Nombre" \ --password contraseña \ --role ownerTo see all available commands:
python -m argilla_server database users --help11. Creating systemd services
11.1 Argilla server service
sudo nano /etc/systemd/system/argilla-server.service[Unit]Description=Argilla Server (FastAPI)Documentation=https://docs.argilla.ioAfter=network.target opensearch.service postgresql.service redis-server.serviceWants=opensearch.service postgresql.service redis-server.service
[Service]Type=simpleUser=argillaGroup=argillaWorkingDirectory=/opt/argillaEnvironmentFile=/opt/argilla/.envExecStart=/opt/argilla/venv/bin/python -m argilla_server startRestart=on-failureRestartSec=10StandardOutput=journalStandardError=journalSyslogIdentifier=argilla-server
LimitNOFILE=65536LimitNPROC=4096
[Install]WantedBy=multi-user.target11.2 Argilla worker service
sudo nano /etc/systemd/system/argilla-worker.service[Unit]Description=Argilla Background WorkerDocumentation=https://docs.argilla.ioAfter=network.target opensearch.service postgresql.service redis-server.service argilla-server.serviceWants=opensearch.service postgresql.service redis-server.service
[Service]Type=simpleUser=argillaGroup=argillaWorkingDirectory=/opt/argillaEnvironmentFile=/opt/argilla/.envExecStart=/opt/argilla/venv/bin/python -m argilla_server worker --num-workers ${BACKGROUND_NUM_WORKERS}Restart=on-failureRestartSec=10StandardOutput=journalStandardError=journalSyslogIdentifier=argilla-worker
LimitNOFILE=65536
[Install]WantedBy=multi-user.target11.3 Enable and start the services
sudo systemctl daemon-reload
sudo systemctl enable argilla-server argilla-worker
sudo systemctl start argilla-serversleep 5sudo systemctl start argilla-worker
11.4 Verify the status of all services
sudo systemctl status opensearchsudo systemctl status postgresqlsudo systemctl status redis-serversudo systemctl status argilla-serversudo systemctl status argilla-workerFollow logs in real time:
sudo journalctl -u argilla-server -fsudo journalctl -u argilla-worker -f12. Verification and first use
12.1 Verify the API responds
curl -s http://localhost:6900/api/v1/status | python3 -m json.tool12.2 Access the web UI
http://localhost:6900Initial credentials:
- User:
admin - Password: the value configured in
PASSWORDinside.env
12.3 Verify indices in OpenSearch
curl -s http://localhost:9200/_cat/indices?v12.4 Verify Argilla uses the correct client
When reviewing the server logs, something like the following should appear:
INFO: Search engine: opensearchINFO: Connected to OpenSearch 2.x.xIf an UnsupportedProductError error appears, it means ARGILLA_SEARCH_ENGINE was not loaded correctly — verify the .env file and restart the service.
13. Installing the Python SDK (client)
The Argilla SDK is installed in the environment from which you will be programming (can be the same server or a remote machine):
pip install argillaConnect to the server:
import argilla as rg
client = rg.Argilla(    api_url="http://localhost:6900",    api_key="argilla.apikey"   # Valor de API_KEY en .env)
# Verificar conexiónprint(client.http_client.get("/api/v1/status"))
Create a test dataset:
settings = rg.Settings(    guidelines="Clasifica el sentimiento del texto.",    fields=[        rg.TextField(name="text", title="Texto")    ],    questions=[        rg.LabelQuestion(            name="sentiment",            title="¿Cuál es el sentimiento?",            labels=["positivo", "negativo", "neutro"]        )    ])
dataset = rg.Dataset(    name="mi-primer-dataset",    settings=settings)dataset.create()
records = [    rg.Record(fields={"text": "Me encanta este producto"}),    rg.Record(fields={"text": "Muy mala experiencia"}),    rg.Record(fields={"text": "El producto llegó a tiempo"}),]dataset.records.log(records)print("Dataset creado correctamente.")
14. Maintenance
Restart the Argilla services
sudo systemctl restart argilla-server argilla-workerUpdate Argilla
sudo -i -u argillasource /opt/argilla/venv/bin/activate
pip install --upgrade "argilla-server[postgresql]" -c /opt/argilla/constraints.txt
set -a; source /opt/argilla/.env; set +apython -m argilla_server database migrate
sudo systemctl restart argilla-server argilla-worker
Update OpenSearch
export OPENSEARCH_INITIAL_ADMIN_PASSWORD='Admin_Password_Seguro1!'sudo apt updatesudo apt install --only-upgrade opensearchsudo systemctl restart opensearchData backup
| Component | Backup method |
|---|---|
| PostgreSQL | pg_dump argilla -U argilla_user > argilla_backup.sql |
| OpenSearch | Snapshots via API (/_snapshot) or backup of the /var/lib/opensearch/ directory |
| Argilla files | Directory /opt/argilla/data/ |
Reindex datasets in OpenSearch
If OpenSearch loses its indices, they can be reindexed by restarting the server with an additional environment variable:
sudo systemctl edit argilla-serverTemporarily add in the [Service] section:
[Service]Environment=REINDEX_DATASETS=1Restart the service, then remove that configuration and restart again.
Port and service summary
| Component | Port | URL / verification command |
|---|---|---|
| OpenSearch | 9200 | curl http://localhost:9200/ |
| PostgreSQL | 5432 | psql -h localhost -U argilla_user argilla |
| Redis | 6379 | redis-cli ping |
| Argilla Server (UI + API) | 6900 | http://localhost:6900 |
Key differences from the Elasticsearch installation
| Aspect | Elasticsearch 8 | OpenSearch 2.x |
|---|---|---|
| APT repository | artifacts.elastic.co | artifacts.opensearch.org |
| systemd service name | elasticsearch | opensearch |
| Security config | xpack.security.enabled: false | plugins.security.disabled: true |
| Argilla environment variable | ARGILLA_SEARCH_ENGINE=elasticsearch | ARGILLA_SEARCH_ENGINE=opensearch |
| Password required at install | No | Yes (since version 2.12+) |
| License | SSPL (proprietary) | Apache 2.0 (free) |
| Python client used by Argilla | elasticsearch-py | opensearch-py |